Drop Down MenusCSS Drop Down MenuPure CSS Dropdown Menu

Monday 14 July 2014

Its a Mini Album again !!

Hello,

Hope you all are well and good :)

Today I have a Mini Album to share with you all :)
And yes I have made it for my dear Friend :)

Ok.. so lets have a look on card.

This is the front page.
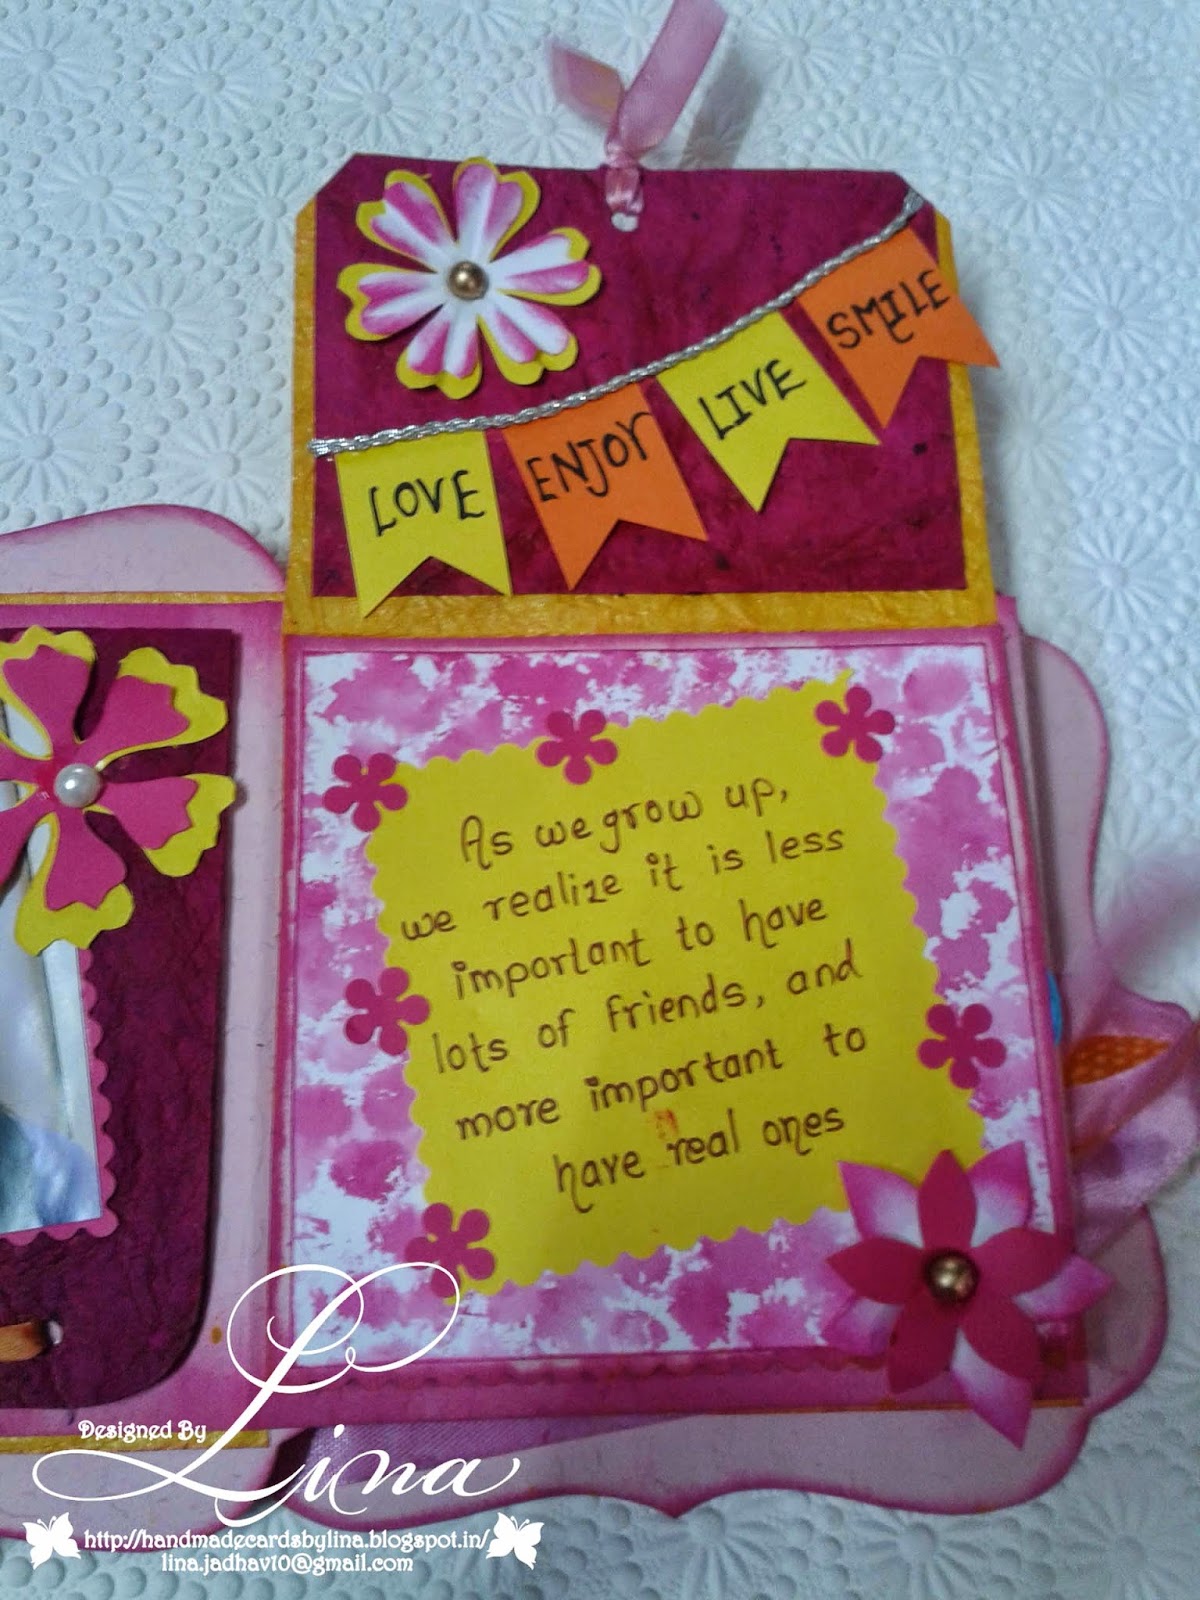
I decorated it with handmade flowers and ribbons.
As you can see the half part of front paper is yellow and another one is white with pink dots.
I got that cool look using Distress ink and bubble wrap paper(usually use of gift wrappings)

Its easy to do. Just apply your Distress ink on bubble wrap paper and then put your paper(on which you want this design) on the colored bubble wrap paper, make sure that it will apply on the whole paper and have a great look on your paper..that's it :)


So this comes after opening front page, I made these butterflies by hand :)
 

Here again I gave a nice look to white paper using bubble wrap paper technique.


 This is what I loved the most.. this popup cake :) 
Balloons are also handmade.


Ok so this is how I made a short and sweet Mimi Album.
Hope you all like it.

Linking this Mini Album to following challenges:

Thanks a lot for visiting,
Lina 

Tuesday 8 July 2014

Simple and Beautiful Handmade Flowers

Hello everyone,

I have something to share with you all from my old collection.
 Few month before I made these beautiful flowers and really really wanted to share a tutorial too.

So today I am posting tutorial also :)

ENJOY :)


      ~~~~~~~~~~~~~~TUTORIAL~~~~~~~~~~~~~~

~~~~~~~~~~~~Things u need~~~~~~~~~~


1) Punch out two shapes of flowers.. I am showing it with two colors Pink and Yellow..
you can use your any favorite color


 2) Cut one flower shape as shown in the image below


 3) Stick the part of flower petal above to other petal with glue


4) Curve the petals from inside to outside 


5) Give shading to petals for nice look :)


6) Stick the smaller flower on the bigger one and make a hole in center and add Flower Stamens in the center as shown
 

 7) Use Flower tape and Stick to
attach it to flower like below

Its easy..just keep rolling Flower tape on stick from bottom to top of stick and as you come at the end of the stick take flower and continue rolling of tape so that It will attach perfectly with stick..

Wow..so we are done with flowers :) :)


8) Ok.. now  lets make Leaves :)

Use your leaf punch and also you can cute out leaf shapes like below


 9) Add punched leaf shapes at the bottom of the flower with glue...ohh its looking nice :)


10) Once again take your Floral tape and add leaves (that you have cut before) like this..that's it :)


 CONGRATS..you are done :) :)

Here is your flower ready :)


 Now try with different colors :)
You can keep these beautiful flowers into your flower vase :)  


  Isn't it fun it make these lovely flowers :)
Hope you also enjoyed this simple flower making tutorial.
 
Thanks for visiting,
Lina